

How to make a DIY garden storage box?
Jan 08, 2026
Leave a message
Hey there, fellow gardening enthusiasts! If you're like me, you've got a ton of gardening tools and equipment that need a proper home. A DIY garden storage box is the perfect solution to keep your stuff organized and protected from the elements. And guess what? I'm a garden storage box supplier, so I've got all the tips and tricks to help you create your own.
Why Make a DIY Garden Storage Box?
First off, let's talk about why you'd want to make your own storage box. For starters, it's a great way to save money. Buying a pre-made storage box can be expensive, especially if you're looking for a high-quality one. By making your own, you can choose the materials and design that fit your budget and needs.
Another reason to DIY is that you can customize the box to fit your specific tools and equipment. Maybe you have a lot of long-handled tools like shovels and rakes, or you need a place to store your gardening chemicals. With a DIY storage box, you can create compartments and shelves that are tailored to your stuff.
Finally, making a DIY storage box is a fun and rewarding project. It's a great way to get your hands dirty and use your creativity. And when you're done, you'll have a functional and stylish storage solution that you can be proud of.
Materials and Tools You'll Need
Before you get started, you'll need to gather the materials and tools you'll need for the project. Here's a list of what you'll need:
-
Materials:
- Wood (I recommend using pressure-treated lumber for durability)
- Screws
- Hinges
- Handles
- Paint or stain (optional)
- Weatherstripping (optional)
-
Tools:
- Saw
- Drill
- Screwdriver
- Measuring tape
- Level
- Clamps
Step-by-Step Guide to Making a DIY Garden Storage Box
Now that you have everything you need, it's time to start building your storage box. Here's a step-by-step guide to help you through the process:
Step 1: Measure and Cut the Wood
The first step is to measure and cut the wood to the appropriate sizes. You'll need to cut the following pieces:
- Two side panels
- Two end panels
- One bottom panel
- One top panel
- Two door panels
Make sure to measure twice and cut once to ensure that your pieces are the right size. You can use a saw to cut the wood, but if you're not comfortable using a saw, you can have the lumberyard cut the wood for you.
Step 2: Assemble the Box
Once you have all the pieces cut, it's time to assemble the box. Start by attaching the side panels to the end panels using screws. Make sure to use a level to ensure that the box is square.
Next, attach the bottom panel to the box using screws. You can use clamps to hold the pieces in place while you screw them together.
Finally, attach the top panel to the box using hinges. You can use a drill to make holes for the hinges, and then attach them using screws.
Step 3: Add the Doors
Now it's time to add the doors to the box. Attach the door panels to the box using hinges. Make sure to use a level to ensure that the doors are straight.
Once the doors are attached, you can add handles to make them easier to open and close. You can use a drill to make holes for the handles, and then attach them using screws.
Step 4: Finish the Box
If you want, you can paint or stain the box to protect it from the elements and give it a nice finish. You can use a brush or a sprayer to apply the paint or stain. Make sure to let the paint or stain dry completely before using the box.
You can also add weatherstripping to the doors to help keep out the rain and snow. You can use a adhesive-backed weatherstripping to make it easy to install.
Tips and Tricks
Here are some tips and tricks to help you make your DIY garden storage box even better:
- Use a liner: If you're storing gardening chemicals or other items that could leak, it's a good idea to line the bottom of the box with a plastic liner. This will help protect the wood from damage.
- Add shelves and compartments: To keep your tools and equipment organized, you can add shelves and compartments to the box. You can use a saw to cut the shelves to the appropriate sizes, and then attach them to the box using screws.
- Use a lock: If you're storing valuable tools or equipment, it's a good idea to use a lock to keep the box secure. You can use a padlock or a combination lock to lock the box.
Conclusion
Making a DIY garden storage box is a fun and rewarding project that can save you money and help you keep your gardening tools and equipment organized. With a little bit of time and effort, you can create a functional and stylish storage solution that will last for years.
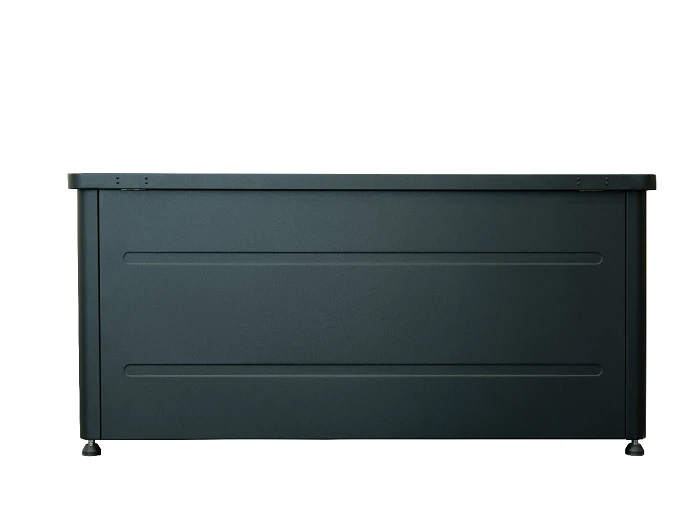
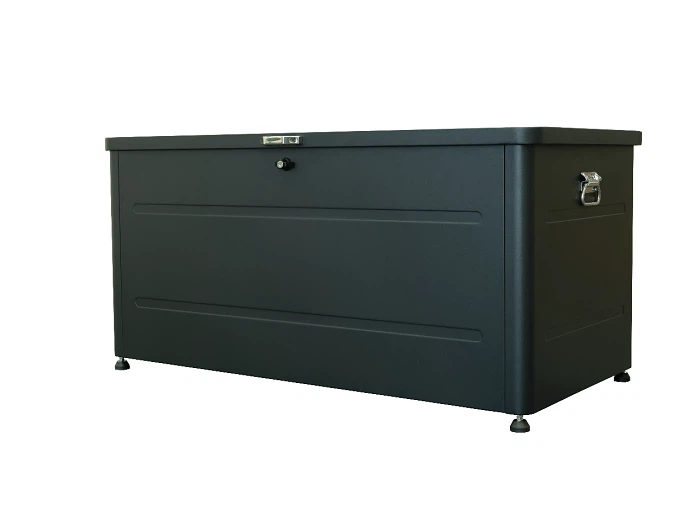
If you're interested in purchasing a pre-made garden storage box, check out our Outdoor Steel Garden Storage Box for Tools. It's made of high-quality steel and is designed to withstand the elements.
If you have any questions or would like to discuss your garden storage needs, feel free to reach out. I'm here to help you find the perfect solution for your garden.
References
- "DIY Garden Storage Box Plans." DIY Network.
- "How to Build a Garden Storage Box." This Old House.